Monday, March 21, 2011

Conclusions

Broken locks in public restrooms are very common. And it really is an embarrassing experience when someone just walks in your cubicle when you are still doing your "business". That is the main reason why we decided to make this project. Based on our experience when we were making the project, we can conclude the following:

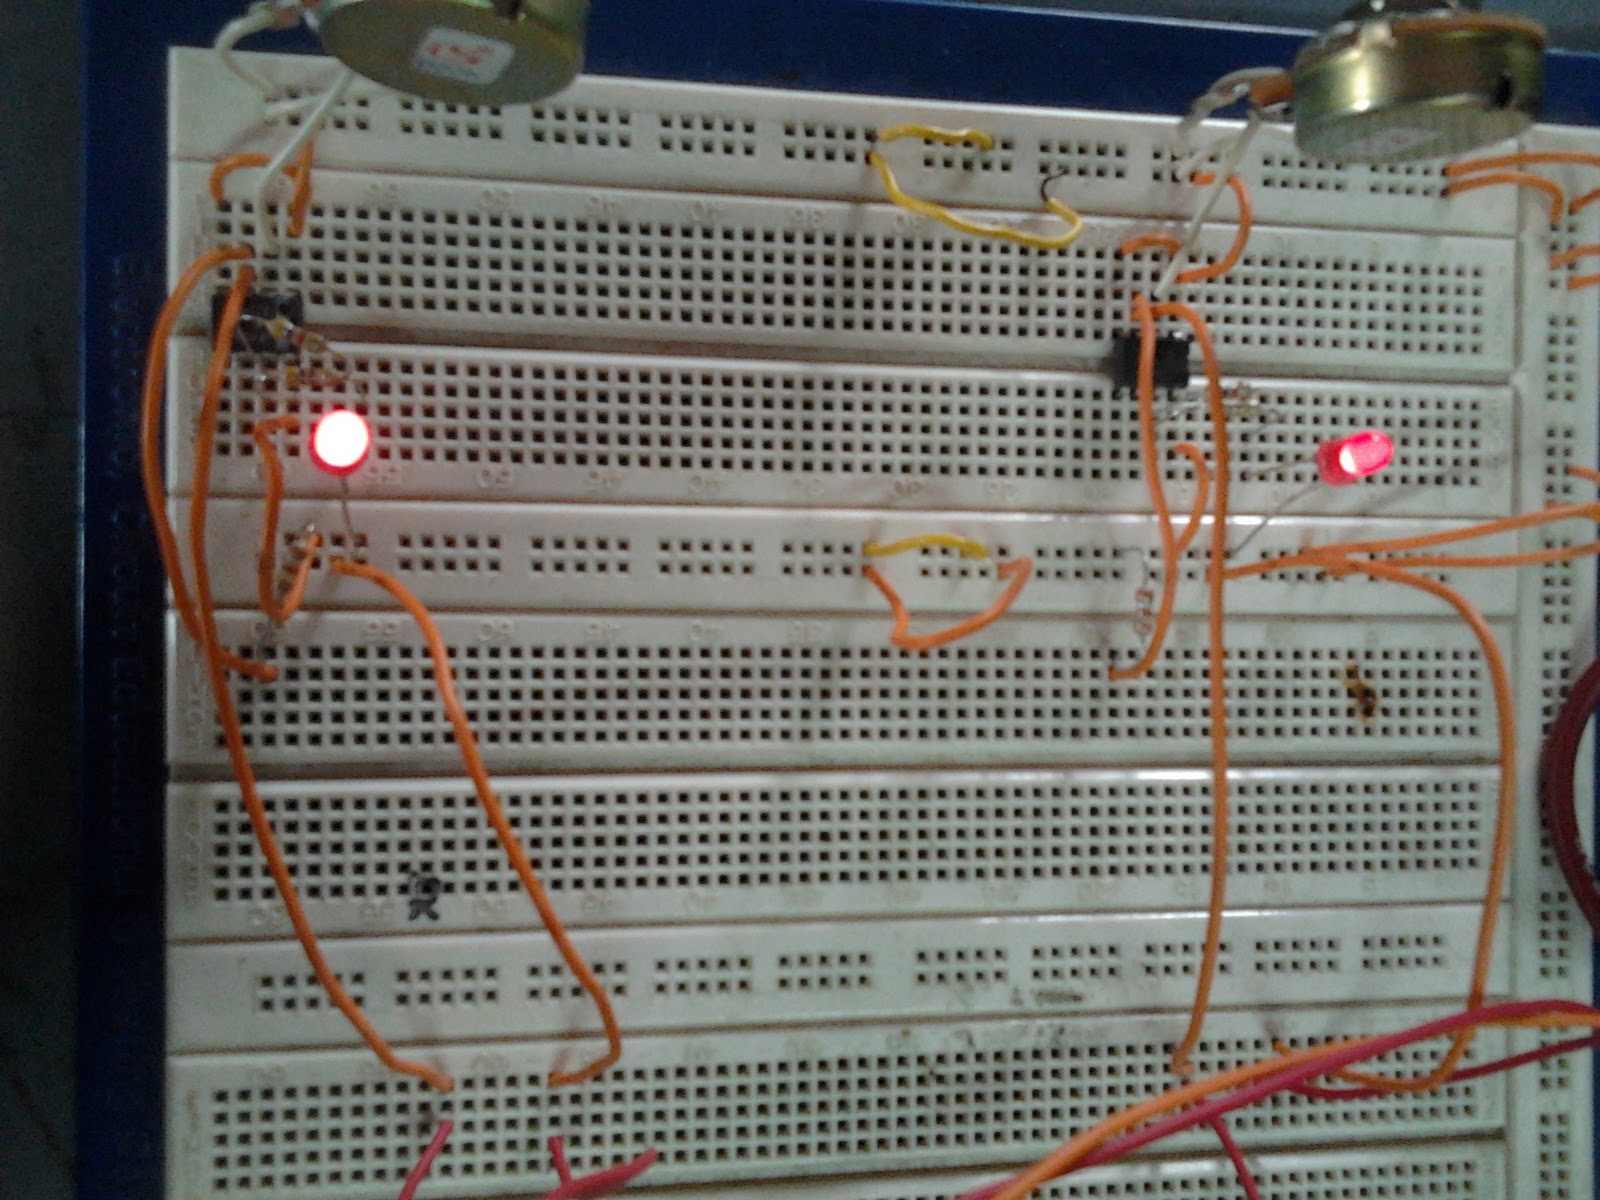
1) It is possible to make a simple laser system to indicate if the cubicle is currently occupied or not.
2) This project is cheap to make because it only need a few materials.

Of course there are modifications that are needed to be made when this is done in full-scale. Also, the lasers could be replaced by a different kind of light so that it will not be visible to the person inside the cubicle (as this might bother the person inside).

Wednesday, March 16, 2011

Project Pictures

Inspiration for Project


-------------------------------------------------------------------------------------------------------------
KPP Project - Security System in C.R. 
(for people who do not want to be disturbed when they're...)

Miniature Model of a C.R. (Outside Perspective)

Inside Perspective of the C.R. Model 

Final Project Circuit


-------------------------------------------------------------------------------------------------------------
PROJECT STAGES


Designing the Project Circuit


Formulating the State Diagram and Flow Chart


Initial Testing of the Sensors


Lighted LED  


Close-up of Final Circuit 


Building the C.R. Model


Attaching the Toilet Seat in the Miniature C.R.


Attaching the Lasers


Activated Lasers


Project Demo (When a person is already inside the C.R.)

Circuit Diagram

Click on image for larger version

FSM (Flow chart)


The Finite State Diagram without the Implementation of OR Gate

State Table and Diagram


Project Progress

Our approach was pretty much straightforward.


Day 0: We studied a similar setup from a previous project to come up with our circuitry.

Day 1: We began wiring the circuit. Originally, there were supposed to be three lasers (two crisscrossing, one straight), but we encountered several problems:

  • One potentiometer wasn't working.
  • Even though we could change the malfunctioning potentiometer, the breadboard we obtained had internal problems. It could only accommodate two potentiometers.

We decided to remove the straight laser as a result. However, we got the LDRs to work already at this point.

Day 2: CR model was built.

Day 3: The LDRs and lasers were attached to the model to simulate the CR scenario.

Methodology

The project made use of two crisscrossing lasers at the floor of the model. Each laser was positioned such that it hits an LDR which is also positioned at floor level. Even if one of the lasers was blocked (LDR receives no light), the system assumes that the CR is occupied, and thus the red LED will turn on.

Materials used for the circuit:
  • 2 LDRs
  • 2 Potentionmeters
  • 2 laser pointers
  • 2 red LEDs
  • 4.7 k ohm resistors (2 pcs)
  • 470 ohm resistors (2 pcs)
  • 3.9 k ohm resistors (2 pcs)
The project was connected directly to the power source (5 V for the actual circuit, and 4 V for each of the lasers).